Introduction:
Nail art has become a staple in the beauty industry, allowing individuals to express their creativity and enhance their personal style. While traditional nail polish and intricate hand-painted designs have been popular choices, a new trend has emerged, offering a convenient and stylish alternative: press-on nails and nail wraps. In this comprehensive guide, we will delve into the world of press-on nails and nail wraps, exploring their benefits, application techniques, removal methods, and tips for achieving flawless results. So, get ready to revolutionize your nail game with these trendy and hassle-free options!
I. The Evolution of Nail Art:
Nail art has a rich history that dates back thousands of years. Ancient civilizations used dyes, henna, and even precious metals to adorn their nails. Fast forward to modern times, and we have witnessed the rise of nail polish and intricate hand-painted designs. However, these traditional methods often require time, skill, and patience. This is where press-on nails and nail wraps come into play, revolutionizing the nail art industry.
II. What are Press-On Nails and Nail Wraps?
Press-on nails, also known as artificial nails or false nails, are pre-designed nail extensions that can be applied easily at home or by a professional. They are typically made of durable materials such as acrylic, gel, or plastic. Press-on nails come in various shapes, lengths, and designs, allowing individuals to choose a style that suits their personal preferences.
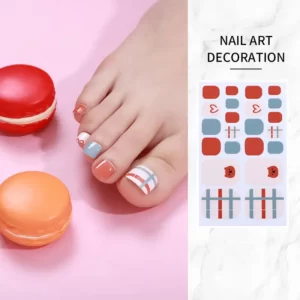
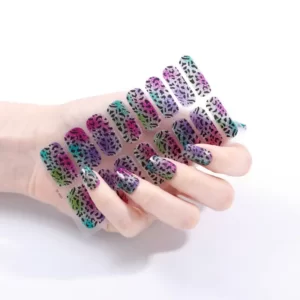
On the other hand, nail wraps are adhesive stickers that are applied directly onto the natural nail. They are made of thin sheets of material, often featuring intricate patterns or designs. Nail wraps offer a wide range of options, including floral patterns, geometric designs, metallic accents, and even custom designs. They provide a quick and mess-free alternative to traditional nail polish, making them a popular choice among nail art enthusiasts.
III. The Benefits of Press-On Nails and Nail Wraps:
- Convenience: Press-on nails and nail wraps offer a convenient solution for those who want stunning nail art without the hassle of lengthy salon visits or intricate painting. With press-on nails, you can achieve a salon-quality look in a matter of minutes, without the need for specialized tools or skills.
- Time-Saving: Traditional nail art techniques require multiple layers of polish, drying time between coats, and intricate designs that can take hours to complete. Press-on nails and nail wraps eliminate the need for drying time and intricate painting, allowing you to achieve beautiful nails in a fraction of the time.
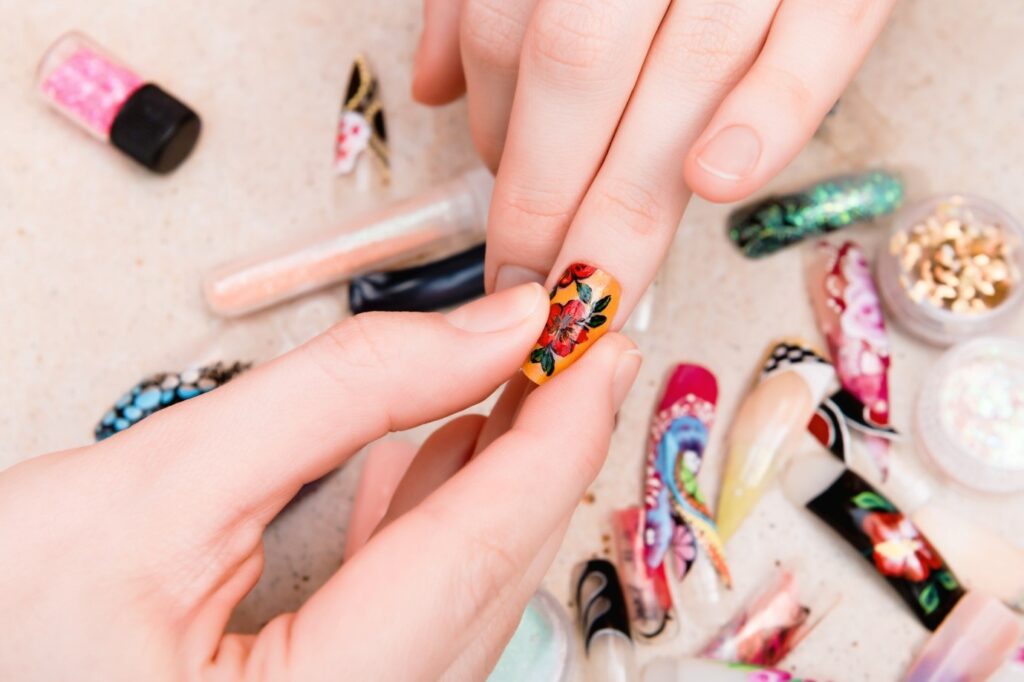
- Versatility: Press-on nails and nail wraps come in an extensive range of designs, colours, and styles. Whether you prefer a classic French manicure, bold geometric patterns, or eye-catching 3D embellishments, there is a design for every taste and occasion. Moreover, if you’re feeling creative, you can mix and match different designs to create a unique look.
- Nail Health: Unlike traditional nail enhancements such as acrylic or gel extensions, press-on nails and nail wraps do not require harsh chemicals or excessive filing. They are generally gentle on the natural nails, reducing the risk of damage and promoting healthier nails in the long run.
- Temporary and Reusable: One of the significant advantages of press-on nails and nail wraps is their temporary nature. Unlike traditional nail enhancements that require professional removal, press-on nails and nail wraps can be easily peeled off or soaked in warm water to remove. They are also reusable, allowing you to switch up your nail art as often as you like without breaking the bank.
IV. Application Techniques for Press-On Nails and Nail Wraps:
- Prepping Your Nails: Start by ensuring your natural nails are clean, dry, and free from any polish or oils. Gently shape and buff the nails to create a smooth surface for better adhesion.
- Sizing and Fitting: Most press-on nail sets come in various sizes to accommodate different nail shapes and lengths. Select the appropriate size for each nail by matching it with your natural nails. If necessary, file or trim the press-on nails to achieve a perfect fit.
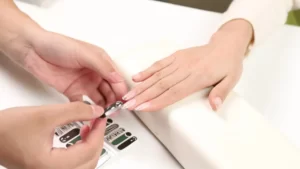
- Applying Press-On Nails: Apply a small amount of adhesive or nail glue onto the natural nail bed, then carefully press the artificial nail onto it, starting from the cuticle area and pressing down firmly. Hold in place for a few seconds to ensure a secure bond.
V. Removal techniques of Nail Wrap
- Gather the necessary supplies: Acetone-based nail polish remover, cotton balls or pads aluminium foil or nail wrap remover clips, a cuticle pusher or orangewood stick, and a nail buffer.
- Prepare the nails: Use the nail buffer to gently file the surface of the nail wraps. This step helps to break the seal and allow the acetone to penetrate more effectively.
- Soak the cotton balls/pads: Soak the cotton balls or pads with acetone-based nail polish remover.
- Apply the soaked cotton: Place the soaked cotton ball or pad directly on top of each nail wrap, ensuring it covers the entire surface area.
- Wrap the nails: Secure the soaked cotton balls or pads by wrapping each nail with a small piece of aluminium foil. Alternatively, you can use nail wrap remover clips designed specifically for this purpose.
- Wait for the acetone to work: Let the nails soak in the acetone for about 10-15 minutes. This allows the acetone to soften and dissolve the adhesive on the nail wraps.
- Remove the nail wraps: After the soaking period, gently press down on each nail and twist the aluminium foil or clips to loosen and remove the nail wraps. If the wraps do not come off easily, you can use a cuticle pusher or orangewood stick to carefully lift them.
- Clean the nails: Use the cuticle pusher or orangewood stick to remove any remaining adhesive residue. Be gentle to avoid damaging the natural nail.
- Smooth and shape the nails: Once the nail wraps and residue are removed, use a nail buffer to smooth out any rough patches and shape your nails.
- Moisturize and protect: Finish the process by applying a nourishing cuticle oil or hand cream to moisturize your nails and cuticles, as acetone can be drying.